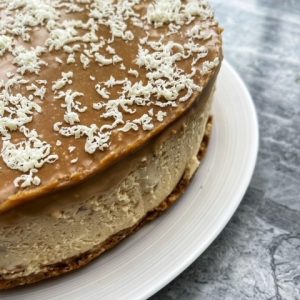
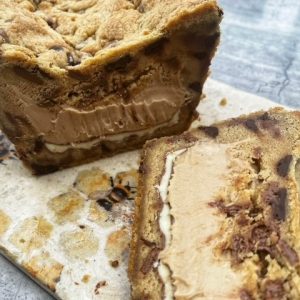
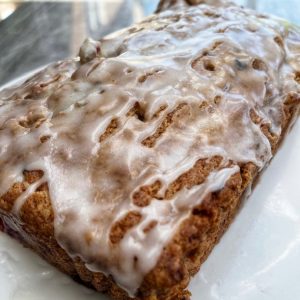
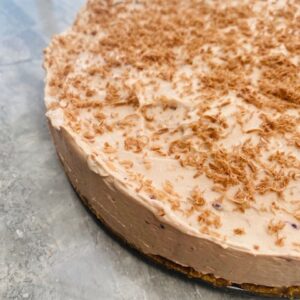
Chocolate Orange Vegan Muffins
Chocolate Orange Vegan Muffins
I love experimenting with new ingredients, new spreads, unusual flavours and different types of chocolate is no different, however this can normally be more of a challenge when looking for Vegan chocolate, no more…if you haven’t already tried it The Wizards Magic plant based chocolates are delicious, so in this recipe I am using their Chocolate Orange plant based chocolate that tastes exactly like milk chocolate orange.
INGREDIENTS
Muffin
150g plant based butter
375g caster sugar
325g plain flour
30g cocoa powder
100g vegan dark chocolate melted
1/2 orange zested
350ml soya milk
1 tbsp apple cider vinegar
1tsp bicarb of soda
1/2 tsp salt
1 tsp strong instant coffee dissolved in 30ml of boiling water
Icing
300g salted plant butter
25g cocoa powder
50g The Wizards Magic plant based orange chocolate, melted
1/2 orange zested
400g icing sugar
1-2 tbsp plant based milk (I used soya)
METHOD
1. Preheat your oven to 160 degrees fan and line a muffin tin (12 hole) with muffin cases.
2. Beat with a fork together the soya milk and apple cider vinegar in a jug and leave to one side.
3. Beat the plant based butter and sugar either in a stand or electric hand whisk until soft and creamy, then beat in half of the instant coffee mix.
4. Combine the flour, bicarb, salt and cocoa in a bowl. Then tip into the sugar and butter mixture, add the soya/cider vinegar mix and melted dark chocolate, beat again until completely smooth.
5. Add the zest of half and orange and stir through the mixture with a wooden spoon
6. Spoon the mixture into the muffin cases equally across the 12, they will be quite full.
7. Bake in the oven for 25 minutes or until a skewer comes out clean. Remove from the oven and cool in the tin for the 10 minutes then pop onto a wire rack to cool completely.
8. Combine all of the ingredients in a bowl with the other half of the instant coffee mix, using either an electric hand mixer or stand mixer, beat until completely smooth.
9. Pipe or spread on to the top of the cooled muffins and enjoy!

ENJOY! If you opt for Chocolate Orange Vegan Muffins, please do share a picture!